Go Big or Go Home: Trimming an 18th Century Hat
When it comes to 18th century dress, less is not more.
No one would accuse wealthy 18th century women of minimalism.
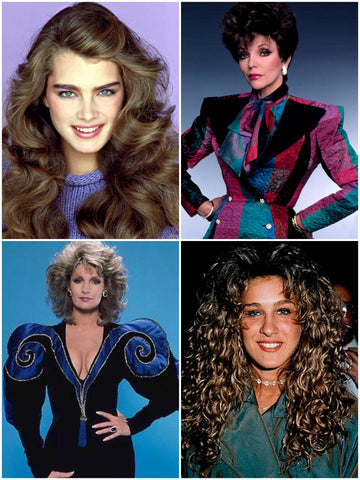
I liken the era's fashion to that of the 1980s. The big hair, bold makeup, garish clothing, even the posture of both eras scream, "I'm here! Look at me!"
I wore this 18th century costume to perform with a baroque dance troupe. We entertained holiday shoppers at the local upscale mall.
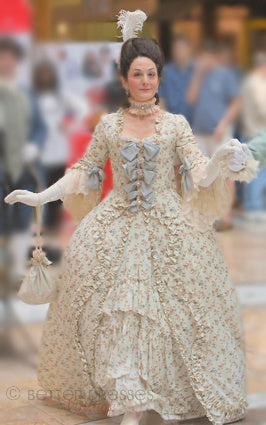
I'd bought the dress used and altered it to be a bit more period-correct, moving the stomacher (that center part of the bodice) down several inches, and tidying up and embellishing the eschelles (the bows, which form an échelle, or ladder).
My shoes came from England via Stella Rose Vintage, and my "clocked" (decorated at the ankles) stockings (similar to extra-tall knee socks) from eBay. The only antique item is the purse dangling from my wrist (you can read about its "rescue" here). My feathered hair decoration I purchased on eBay, then embellished to match the dress.
I created the neck ruff from bits and bobs I had on hand, copying one I'd seen in François Boucher's 1750 portrait of Madame de Pompadour. This shows the back:
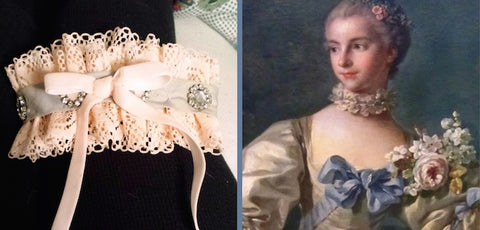
Undergarments are essential for creating the right silhouette. My impressive hips are via pocket panniers from another Etsy shop, and my quilted petticoat and spiral-laced corset were both hand-made by Beth at Historical Designs.
Despite all this, my costume met with disapproval from the troupe leader.
Once I'd stopped feeling dejected, I decided that next time I wore it, I'd change things up with a coordinating hat. A grand, ridiculous, rococo-worthy hat that no one will look at and say, "Hmm, it's a bit wimpy." Here we go.
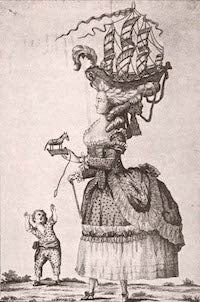
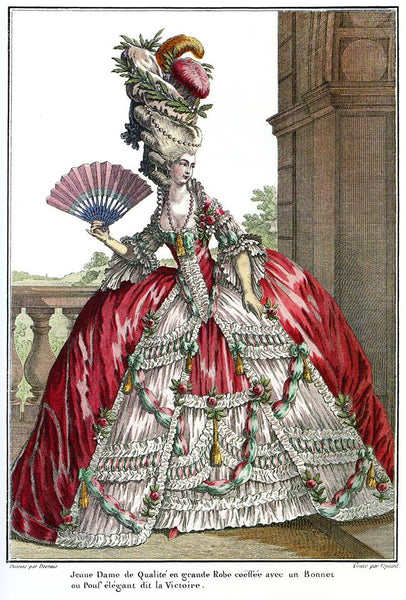
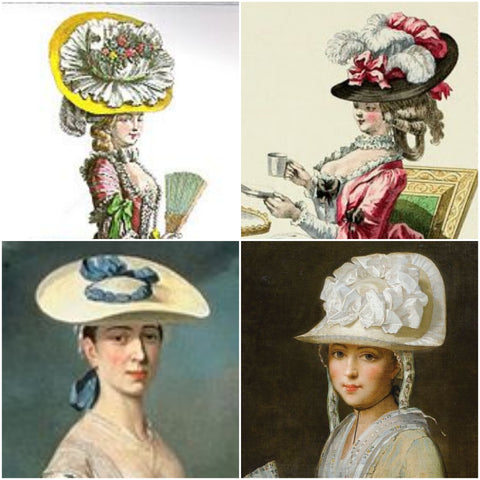
There was a surprisingly wide variety of hat styles to choose from:
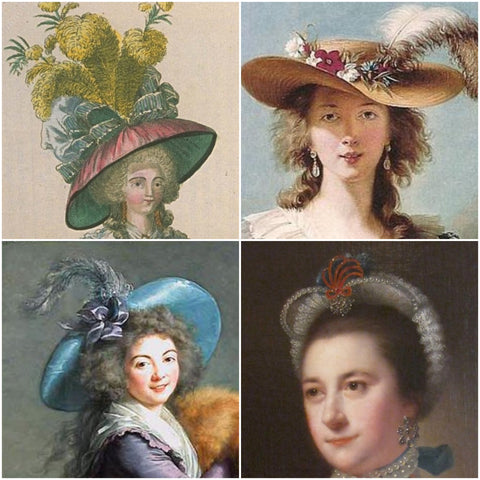
My favorites were the bergères (French for shepherdess), with low crown and wide brim. Nearly all were made of straw, though sometimes completely wrapped in silk fabric. Some sat flat and straight on the head, others curved down around the face with wide ribbons fastened beneath the chin or behind the hair, others were impossibly enormous.
I preferred the big, swoopy, highly stylized ones best. What a hoot!
I started reading up on the proper way to trim such a hat. What I discovered was that just about anything goes. Ribbons, flowers, birds, feathers, fruit, wheat. You name it.
Until fairly recently, when we stopped caring about such things, women re-trimmed their hats regularly. As seasons, trends, or her wardrobe changed, a lady would remove and replace her hat's trimmings to suit.
So long as I wasn't sticking an anachronism on my head (no iPods, Pez dispensers, or toy airplanes), I could do as I pleased, just as they'd done back then.
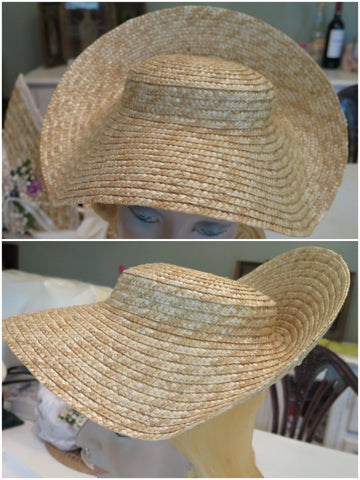
I started with this reproduction pre-shaped straw form I found on eBay:
I inventoried my millinery, ribbon, "really good stuff," and "odds and ends" boxes.
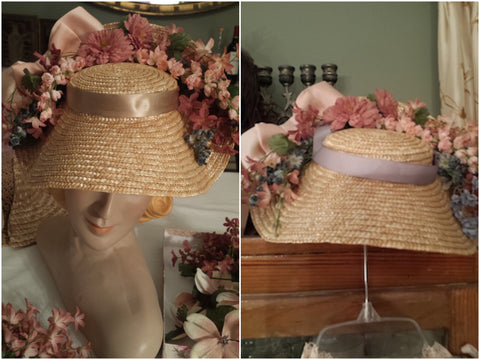
This recently acquired vintage floral thingy looked great on the hat and coordinated beautifully with silk golden-taupe ribbon at the brim and crown:
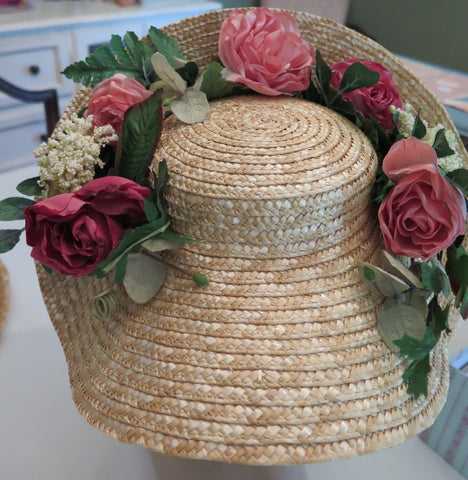
The problem was that the colors were too deep and bright. It overpowered the dress.
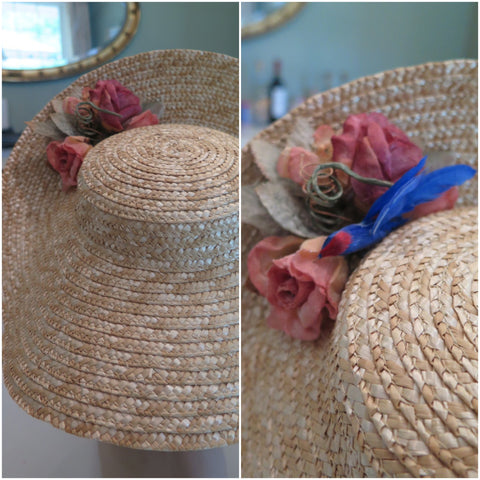
So I tried a smaller, softer-hued vintage floral bunch, with and without a tiny vintage bird. No good. I had no plans to "underwhelm" again. And, yawn:
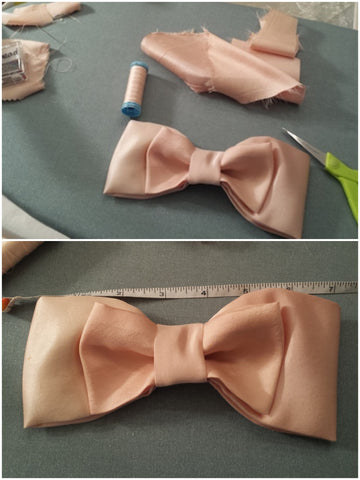
Temporarily without any suitable flowers, I set about making a big bow from leftover antique silk. I'd used it previously to reline the reticule and embellish the stomacher. The bow is just folded tubes, hand-stitched in place. Relatively quick and easy. Yes, the silk is a bit discolored. So am I at this point.
A trip to Goodwill netted me a potted fake-flower arrangement in just-right colors. I spent the better part of a weekend pulling it apart.
No, of course I didn't want to use cheap, fake flowers. I wanted to use gorgeous antique millinery flowers with zero plastic and lots of history. But that didn't work out. And these did coordinate beautifully. So I used what I had. Just like the author of one of my favorite blogs, I'm a pragmatic costumer.
Here's my work table after the floral disassembly:
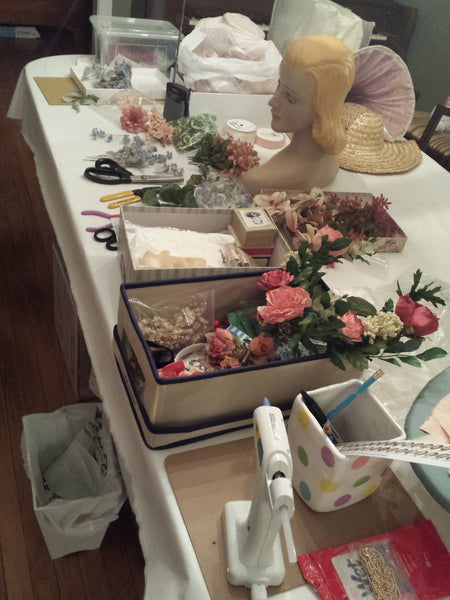
I pinned on the bow and began arranging flowers. Adding the silk ribbon, I realized it wouldn't work. Yes, it's luscious. But it just didn't look right with the dress. What went better was the blueish-gray grosgrain at right:
But, it's modern grosgrain with a straight, woven edge. What I needed was petersham ribbon with a flexible, "sawtooth" edge. It bends easily on curves without buckling. It's harder to find. So I hit eBay. None of the grays available was the right shade. I ordered samples. I bought some off-white for future use. But I still needed blue-ish gray.
So I met Nicholas Kniel at his jaw-dropping millinery shop. He forbade me posting photos because he hadn't had time to tuck in every loose ribbon on every spool. Trust me, I didn't care. But he did. And now that we're friends, I'd like to keep it that way. The place is absolutely exquisite. I kept saying I wanted to eat everything. And he didn't throw me out!
There was no petersham in stock in the right shade of gray. But he did have gorgeous bias-cut silk ribbon. I bought that, along with a tiny, silk-velvet bird, because why not?
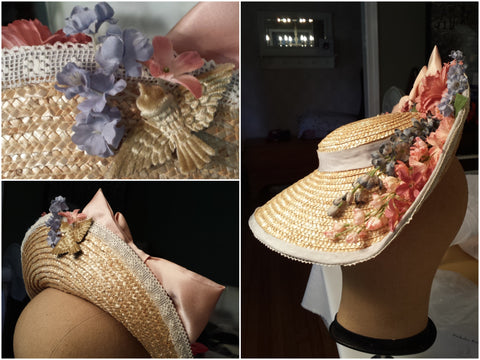
He suggested I first use a wide bias tape in a color close to the straw to create a smooth surface for the ribbon. I hunted it down on eBay, applied it, then carefully applied the silk bias ribbon on top, at both brim edge and crown:
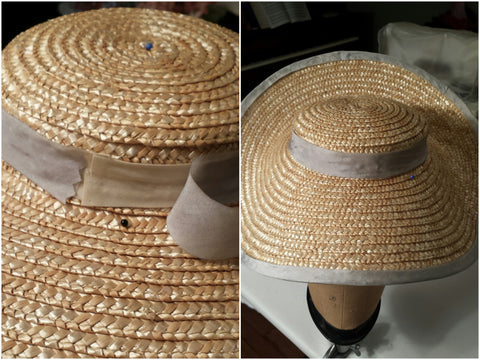
Yes, I used hot glue. There is only so much hand-stitching on straw I can do without bleeding to death, and I didn't trust myself to machine sew it neatly enough. The straw texture still shows through, but not as much as it would without the bias-tape "lining."
I went very slowly. And when it was finished, the top looked pretty good! Not perfect, but pretty good. The problem was on the inside, which becomes the outside at the turned-up back. It looked rather sloppy, with the bias tape showing.
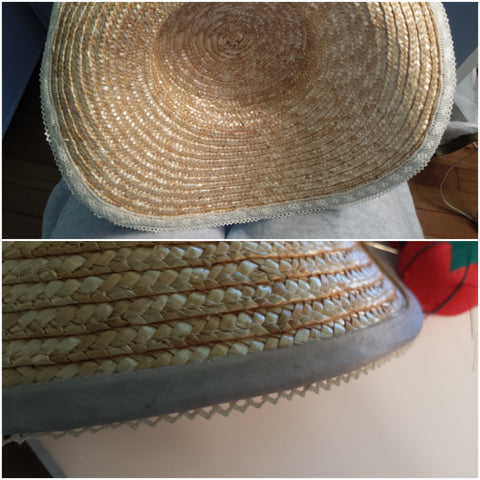
So I used some of my Gramma Bessie's antique cotton lace to tidy it up, hand-stitching it at top and bottom of its full length, with the help of thimble and pliers. That took a while. But it worked. Very tidy. And the tiny picot edge peaking out is my favorite part of the entire hat!
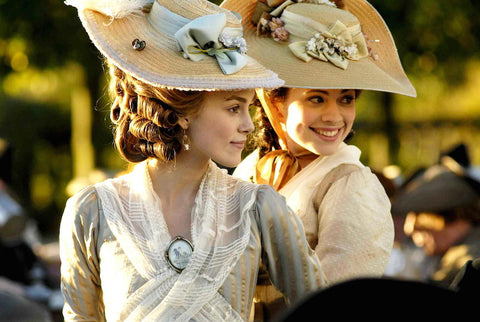
All that was left was sewing the bow in place and then glueing and/or sewing on the flowers. I'm considering adding a peach-satin ribbon along the interior of the crown to form ties. As you can see in this scene from the film "The Duchess," Keira Knightley's hat is held on with a hat pin, while her companion's has ties:
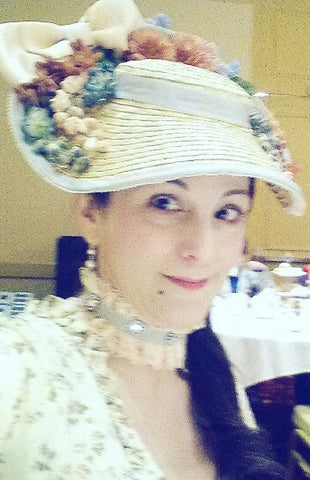
I'm pleased with the results, so may just leave well enough alone:


Comments
Fabulous!
Your hat turned out beautifully! I love the little bird perched on the back.
Oh…..this is just……gorgeous!!! I simply am in love with this hat. This particular costume by the way, is one of my favorites. I think you have done fantastic work and am so sorry it was dismissed. You are truly talented.
How pretty! For future projects, I’ve had very good luck with tweaking the color of artificial flowers with diluted acrylic paint. You can add some depth or mute a too-bright color depending on what shade of paint you use.
Love your hat! Simply gorgeous
You are so clever! I love your honesty and I love seeing your process.
Very helpful! Explaining your decisions and dilemmas along the way, I really liked the idea of lining the ribbon on crown and brim, great idea! 2 questions: What exactly is Petersham ribbon?
How did you block the back brim to get such a nice curve, and to keep the curve?
Hi, Susan! Petersham has a sawtooth edge and bends easily around corners. Click the hyperlink in the blog to learn more. As for the hat, I bought pre-shaped on eBay. I didn’t curve the brim. It came that way. That said, I’ve curved/manipulated other straw hats, and the trick is lots and lots of steam (a hand-held steamer is your friend) and lots and lots of patience. It isn’t difficult, it just takes time. Thanks for your comment and for reading my blog post!
How did you get your hat to bend over at the back. Following your instructions for and history festival but I’m stuck.
Joanne,
Hello! Thanks for reading my post. The answer to your question is “it came that way” — I bought the hat pre-shaped, on eBay. That said, you do the same to your own hat, like this:
Prop the hat on a sturdy stand (preferably one where you can pin it down so it won’t wiggle). Then, use a steamer or a steam iron (or even a boiling tea kettle) to coax the hat into the shape you want. You need to HOLD IT in that new shape while it cools/dries. It takes nearly forever, but works really well. Just be careful — steam burns are no joke (ask me how I know, lol). Be patient. It works great, but takes a long time. Your best bet is to start with a natural straw (as opposed to plastic or paper) hat. But with enough steam and patience, you can reshape just about any hat. Read more about it in this post, where I did actually reshape the hat before decorating it: https://www.betterdressesvintage.com/blogs/from-my-closet/cobbling-an-edwardian-hat
Good luck!
- Liza